The throttle body is a vital component of your vehicle's air intake system. It regulates the amount of air flowing into the engine, working in tandem with the accelerator pedal and the engine control module (ECM) to maintain the proper air-fuel mixture. Over time, carbon deposits, dirt, and oil residue can accumulate inside the throttle body, interfering with its ability to open and close smoothly. This buildup can cause performance issues, but the good news is that learning how to clean a throttle body is a relatively straightforward maintenance task that can help restore your car's responsiveness and efficiency.
Step-by-Step Guide - How to Clean a Throttle Body
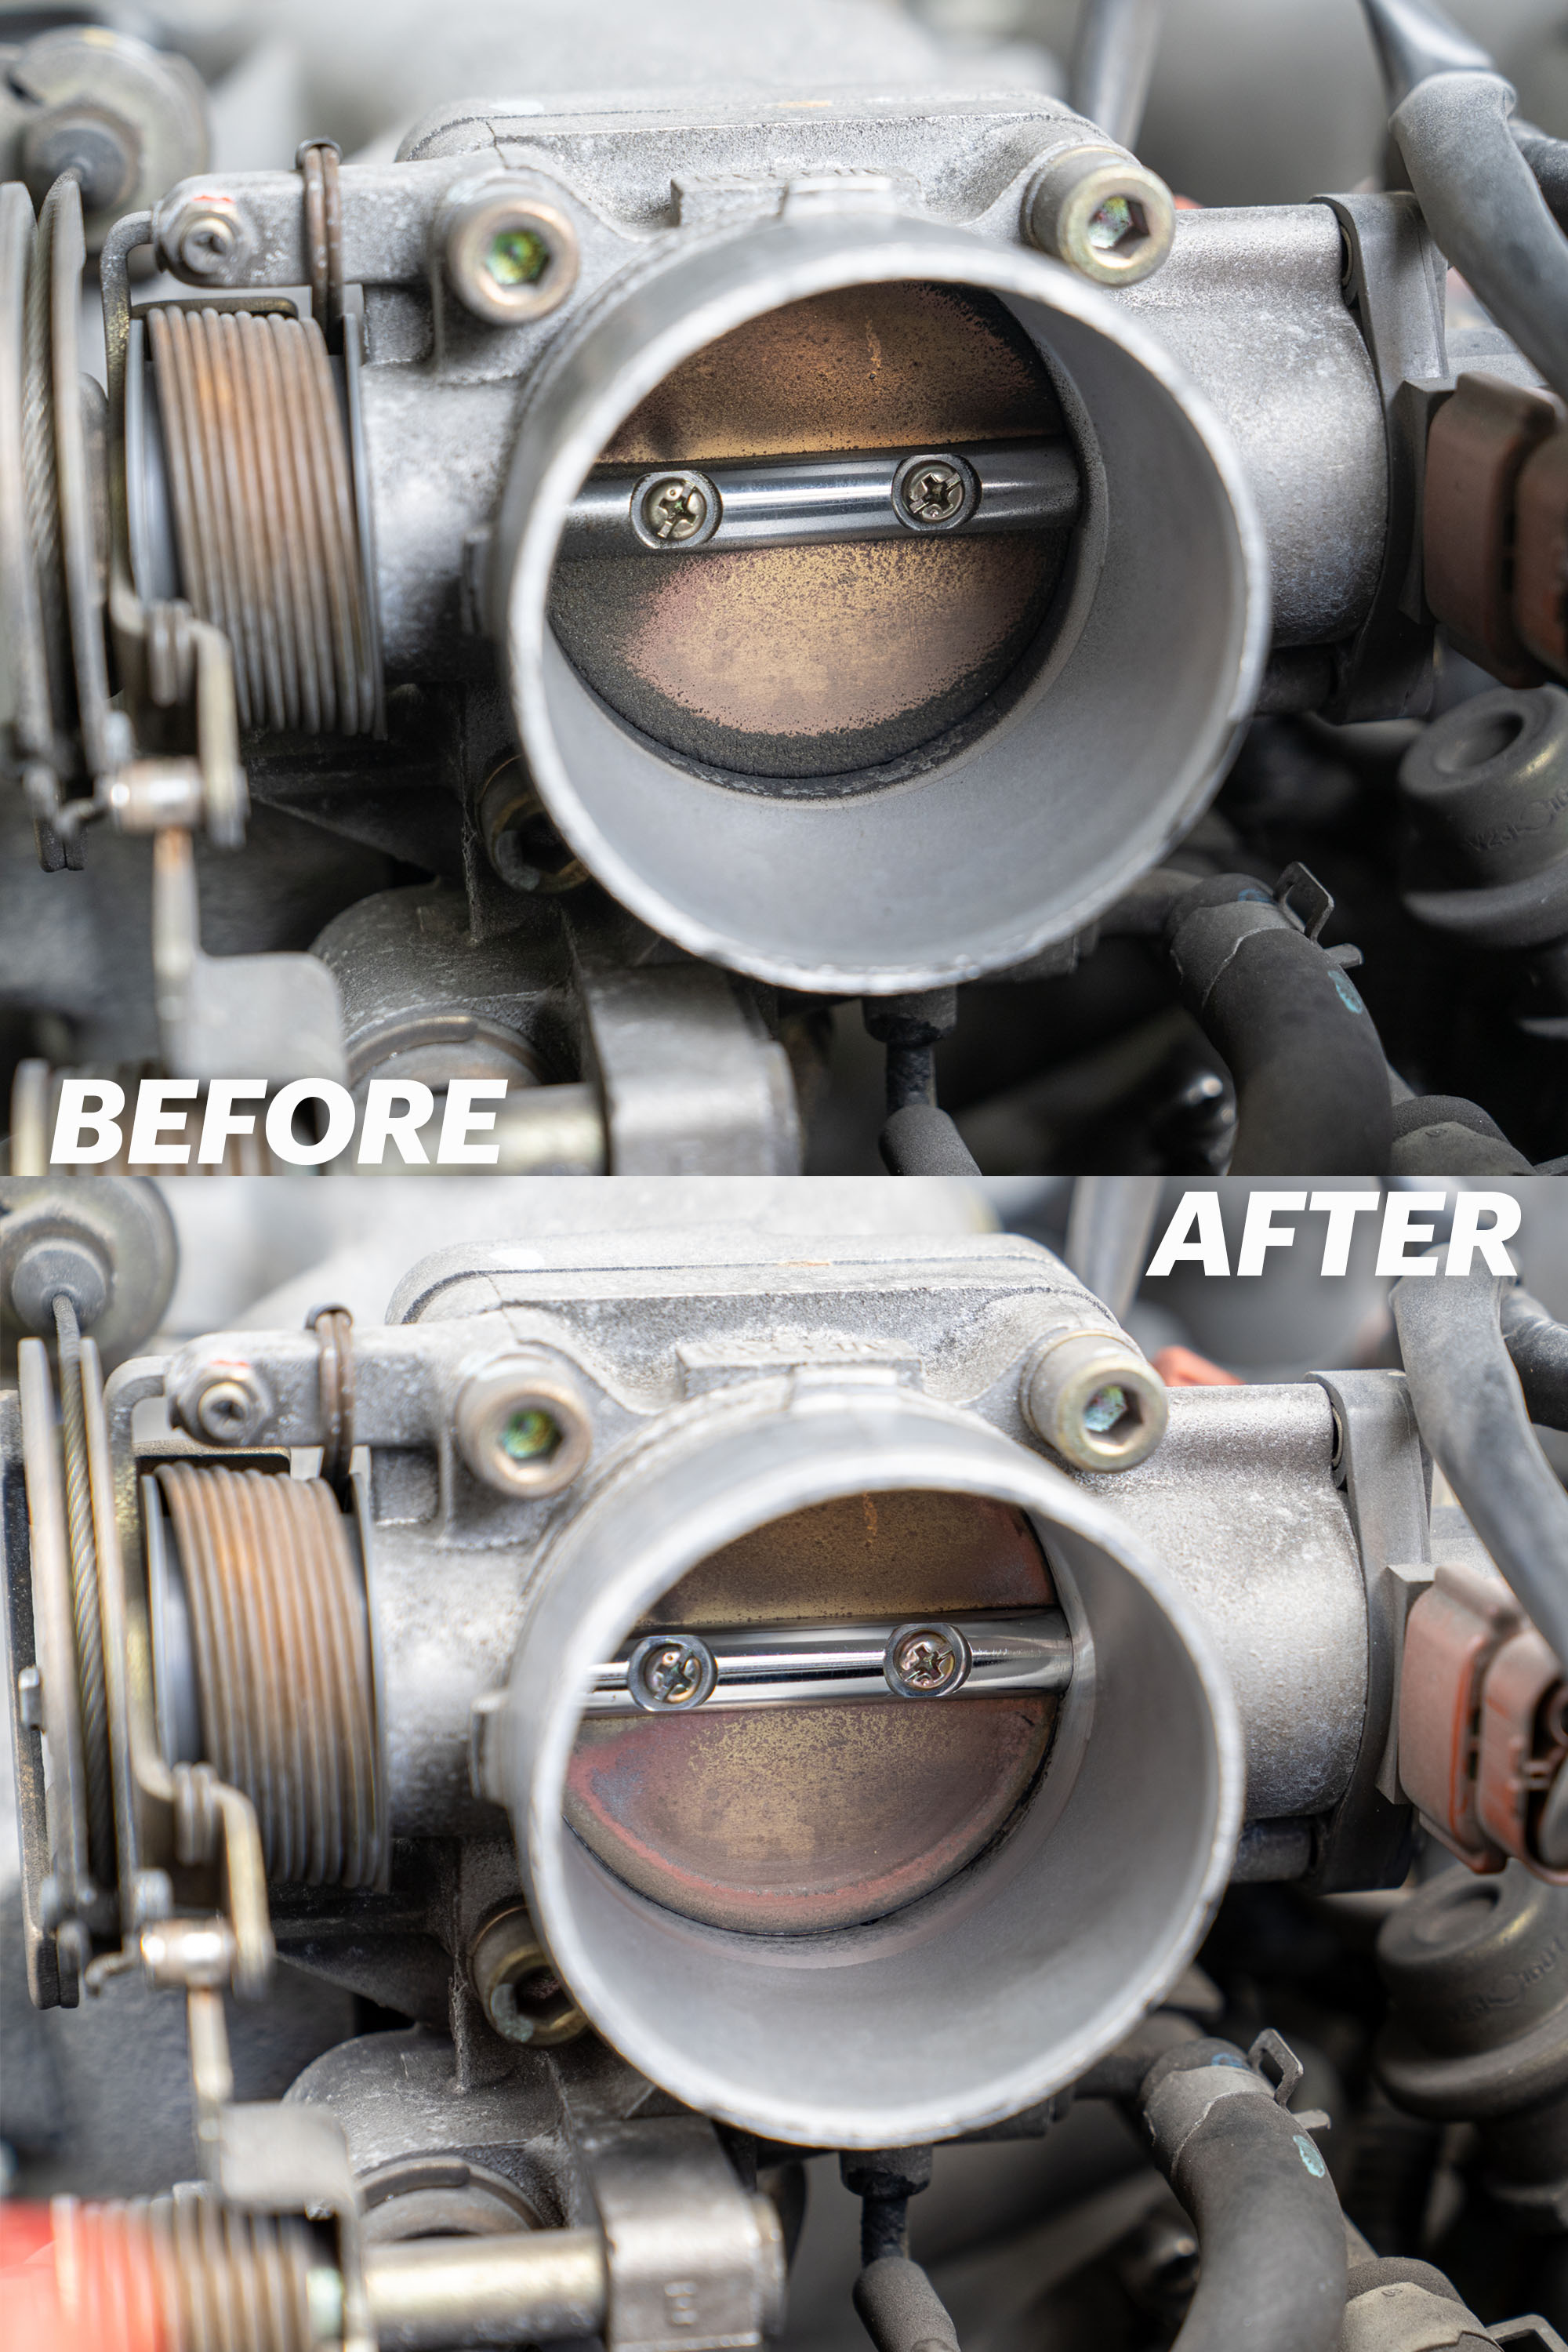
Cleaning a throttle body is about removing carbon, varnish, and oil mist that accumulate on the throttle plate and bore, especially at the edges where the plate seats. The goal is to restore smooth airflow and proper throttle plate movement without damaging coatings, sensors, or the electronic throttle motor. The steps below assume a typical modern, drive-by-wire throttle body, and note differences for cable-operated units.
1. Tools & Materials Required to Clean a Throttle Body
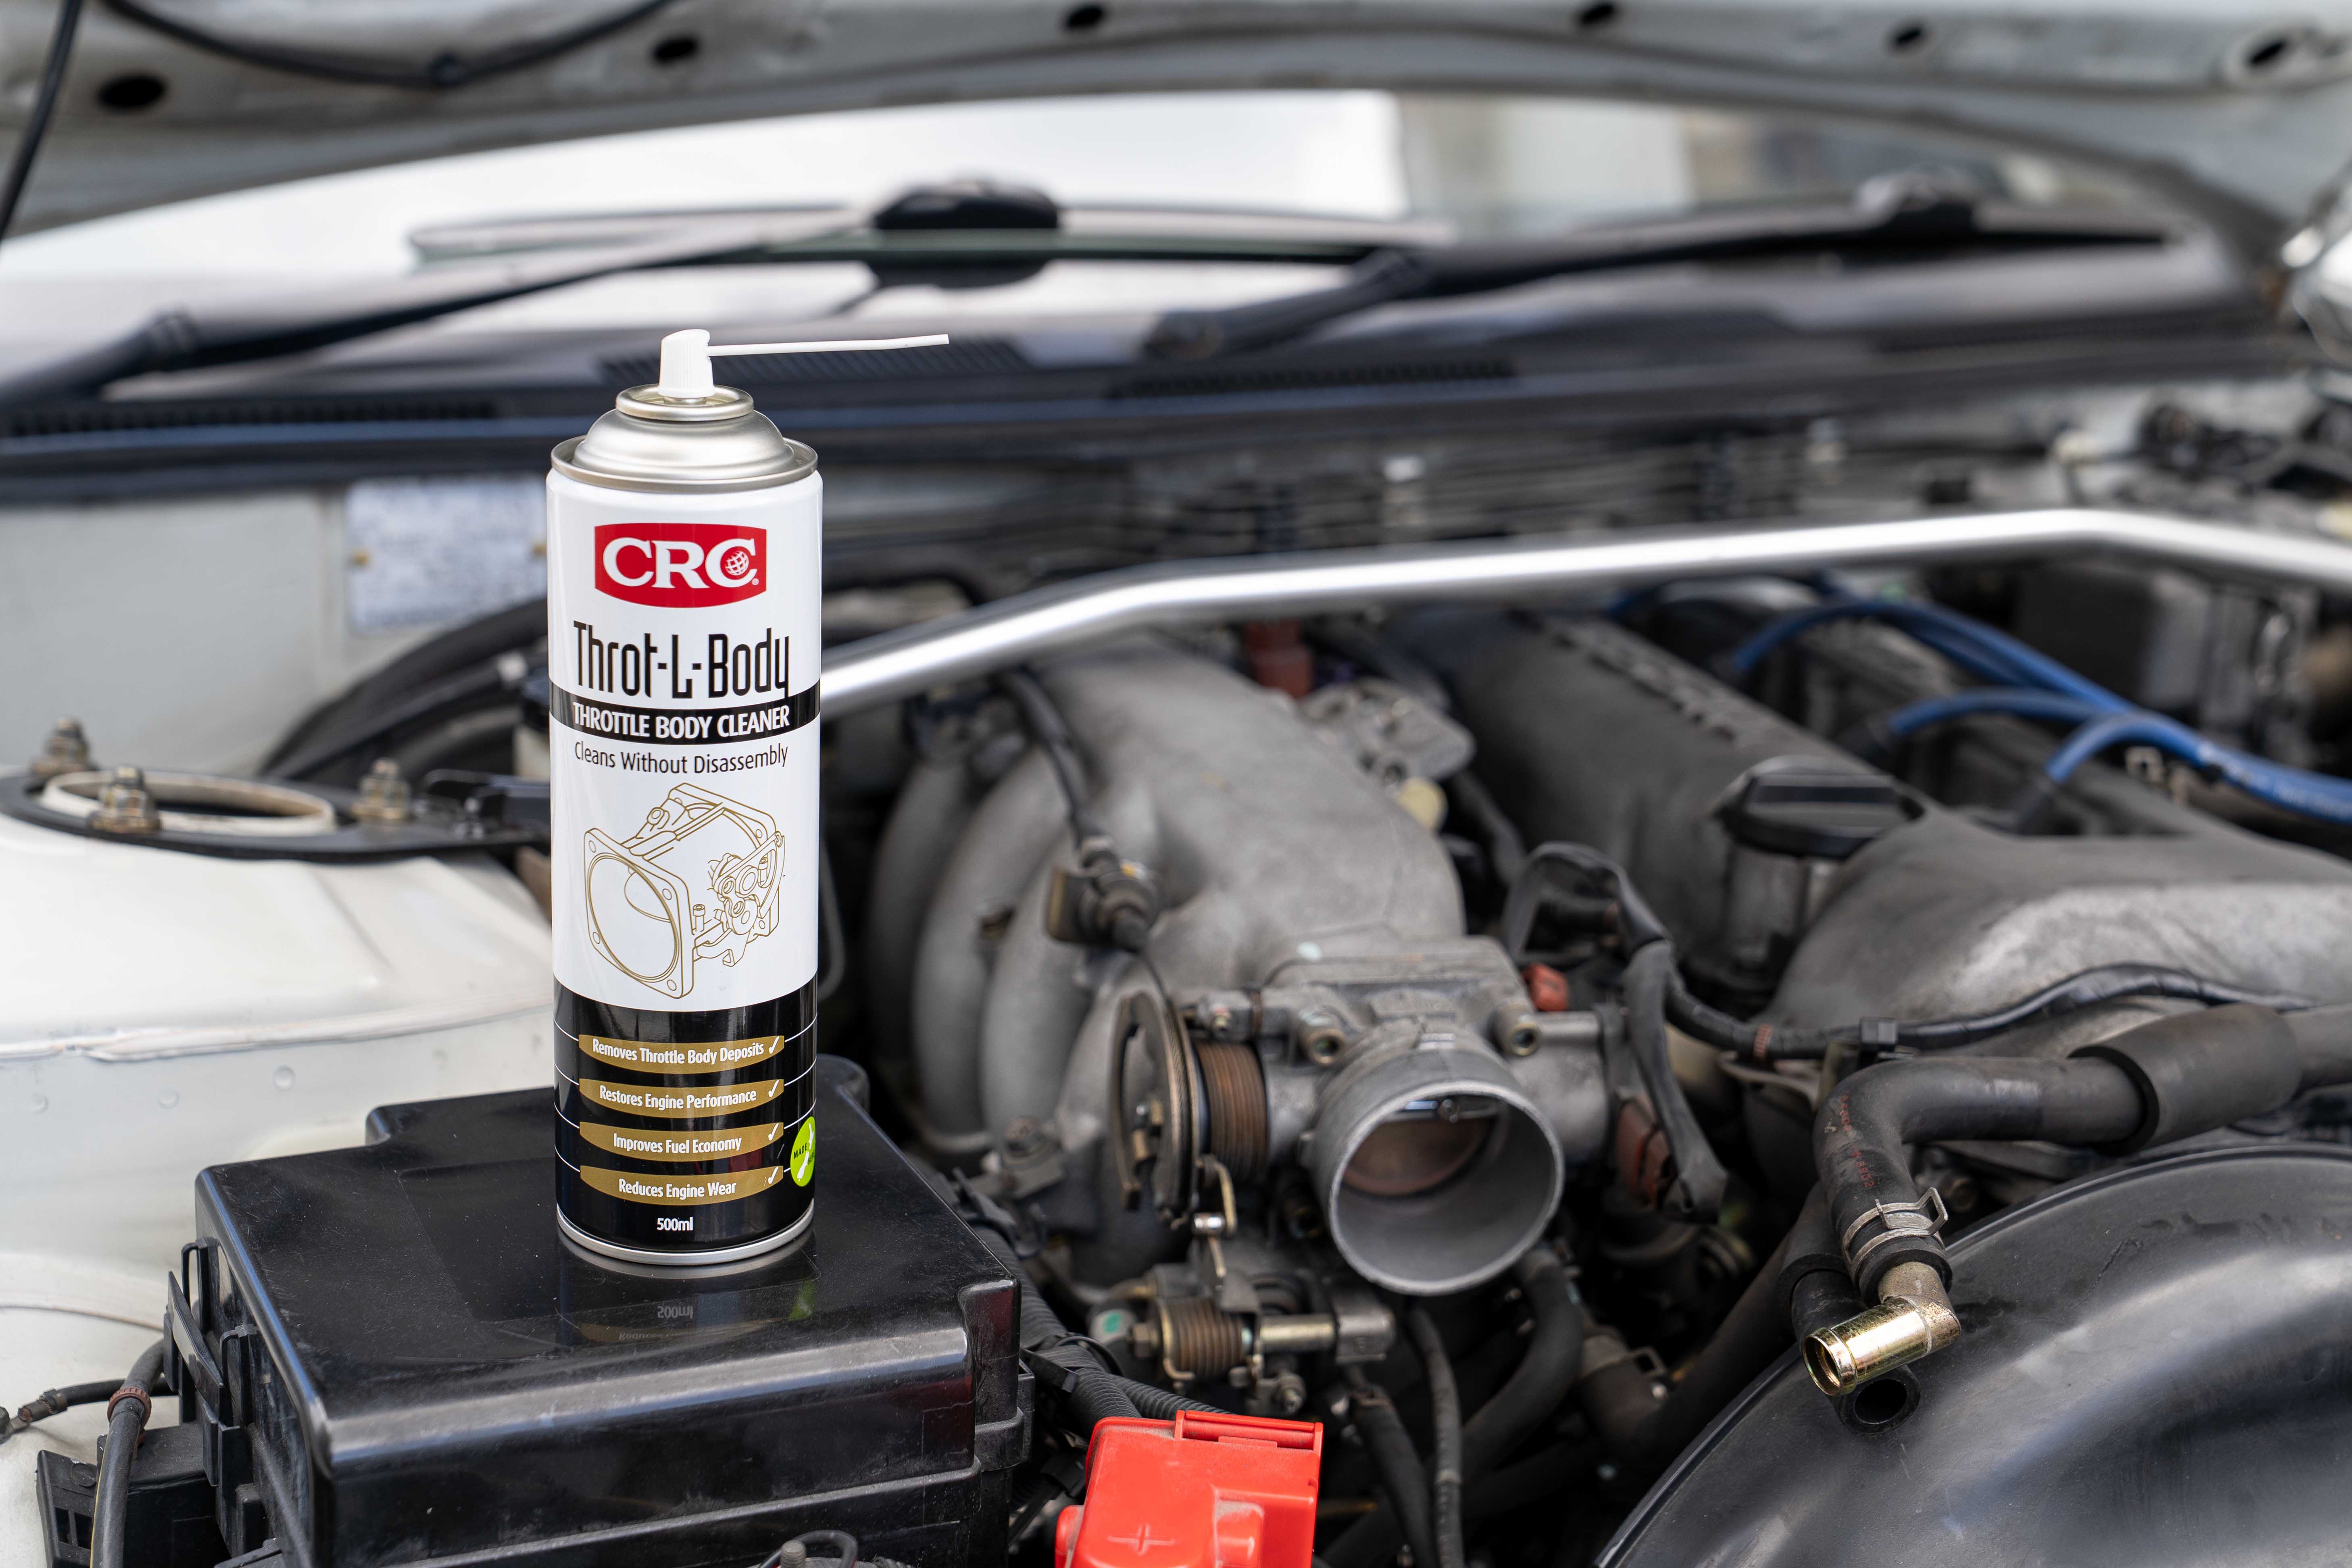
- CRC Throt-L-Body
- Screwdriver for clamps
- Safety goggles and gloves
- Flashlight to help see in tight spaces
- Rag and lint-free cloth
2. Preparation and Safety
Warm up the engine to normal operating temperature and then turn off the engine. Make sure to wear safety goggles and gloves.
3. Accessing the Throttle Body
On some vehicles, a plastic engine cover and small brackets must be removed. Trace the intake duct from the air filter box toward the engine. The throttle body sits at the end of the intake tube where it meets the intake manifold. Remove the intake ducting that clamps to the throttle snout. Loosen hose clamps and any retaining bolts. As you lift the ducting away, inspect the inside for heavy oil or dirt. Excess contamination upstream can re-soil the throttle quickly. On some vehicles, it may be necessary to remove the mass air flow sensor.
With the duct off, you'll see the butterfly valve in the round bore. If there's a removable snorkel or silencer attached, take it off to make some room to work.
4. Inspect the Throttle Body
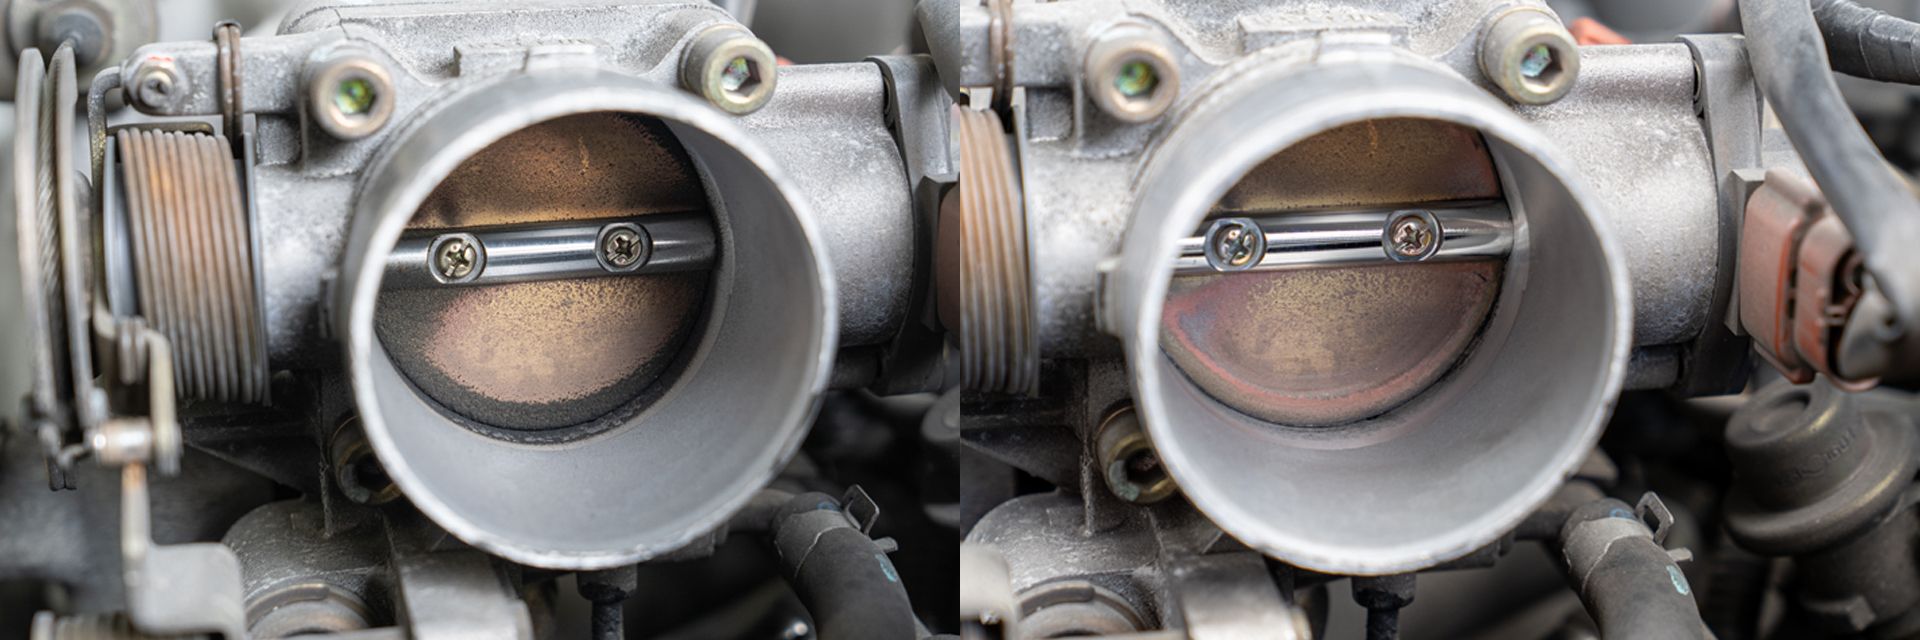
Shine a light into the bore and look at the edges of the butterfly valve. This "seat line" is where carbon builds up and causes sticky operation or reduced idle airflow. Check the backside of the butterfly valve (manifold side) as well, since this area often holds the bulk of deposits. Note any glossy, clear coating on the bore. Many throttle bodies have an anti-friction coating that you should not aggressively scrub.
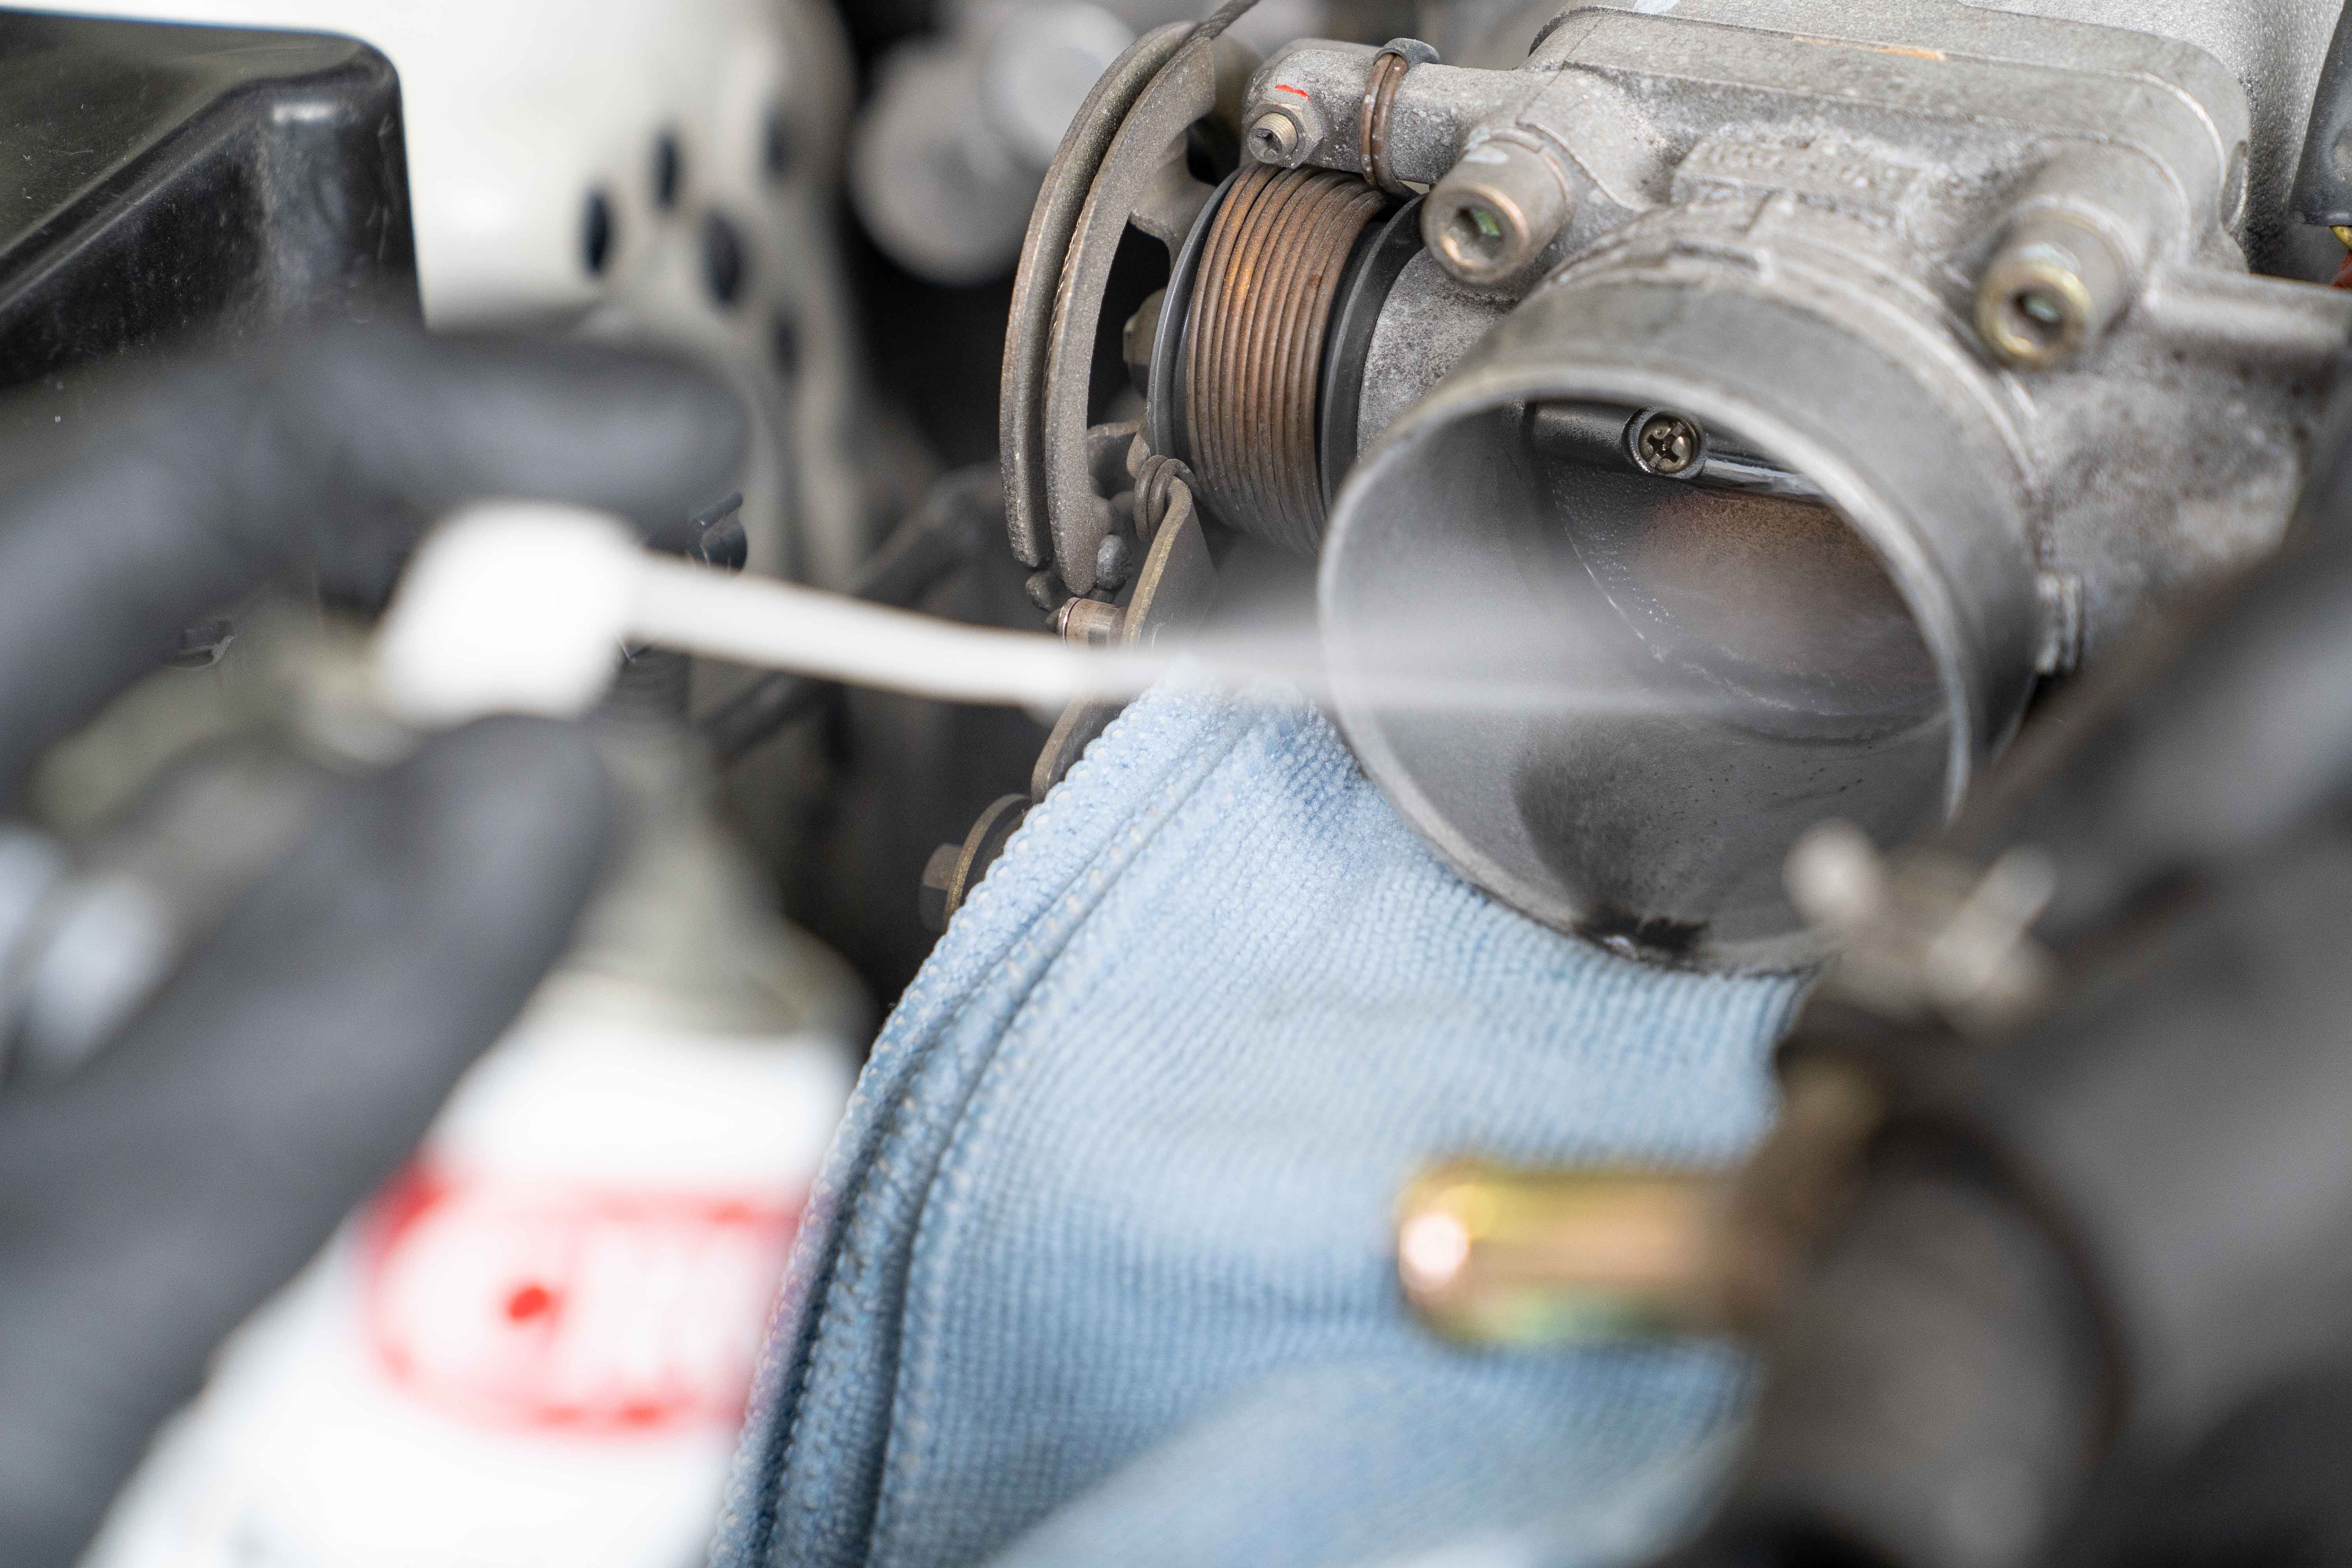
5. Apply Throttle Body Cleaner
Hold the butterfly valve slightly ajar to expose the edge where it meets the bore.
Place a rag under the throttle body to catch any run-off.
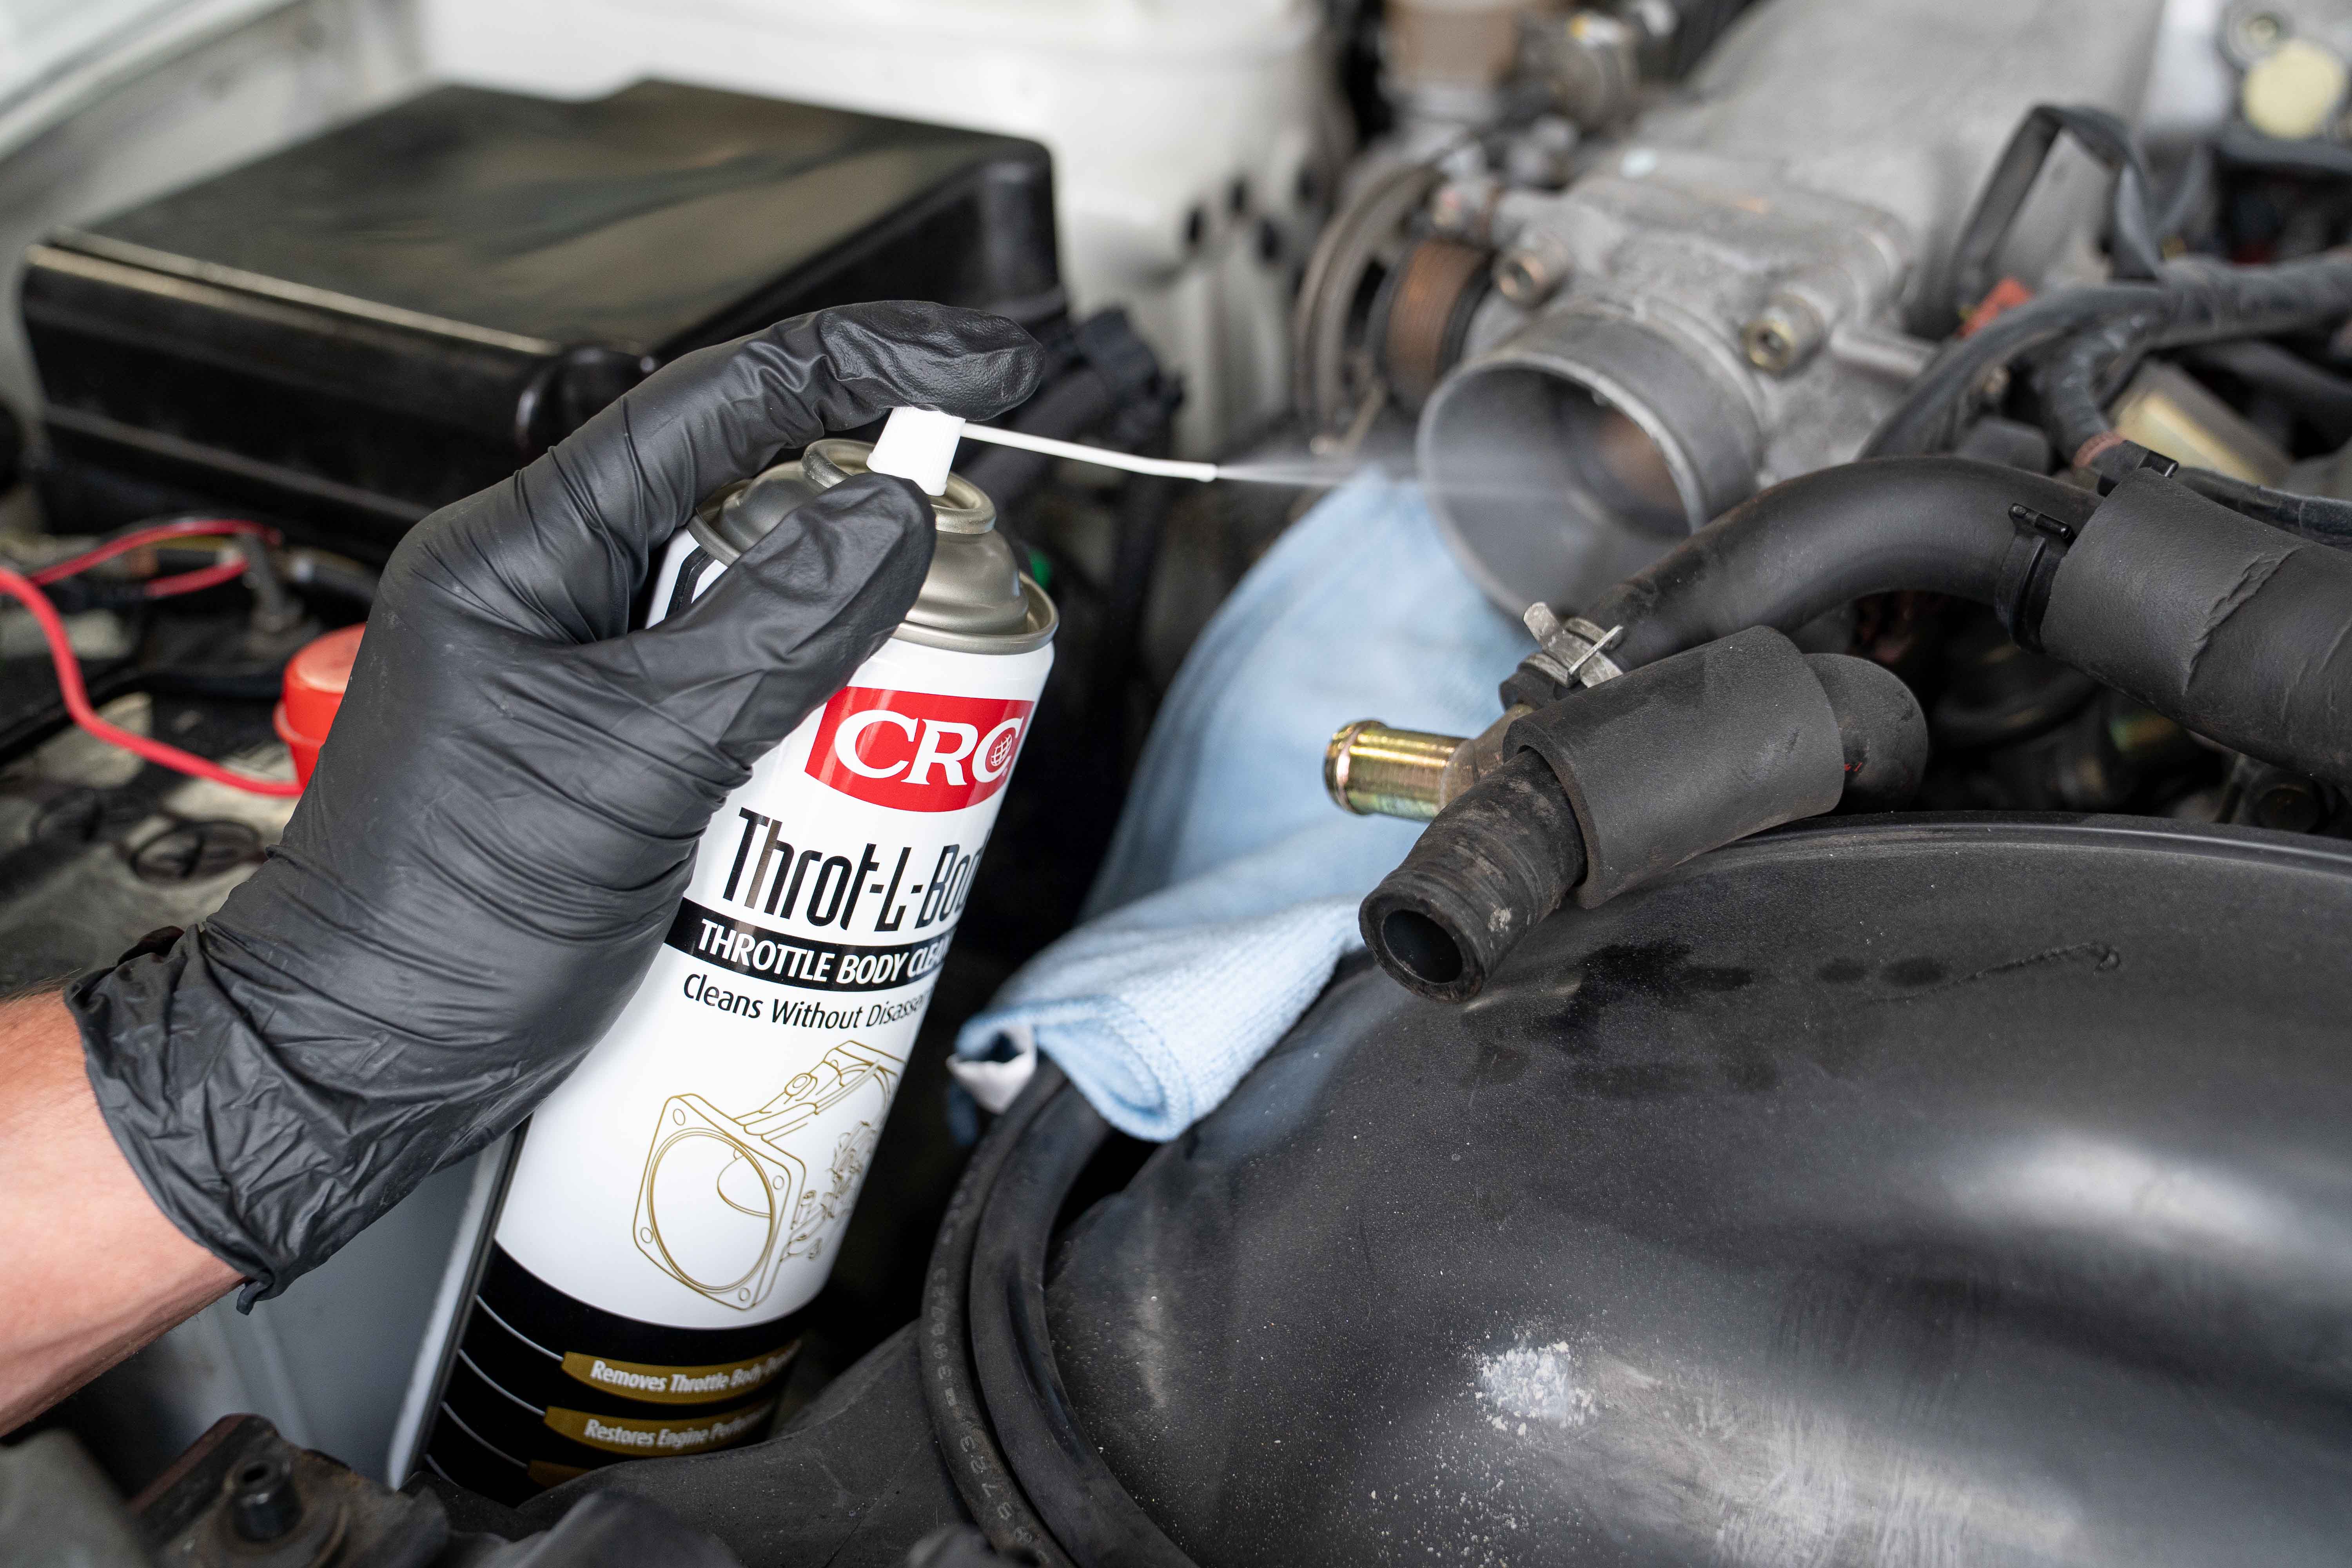
Attach the included straw to the spray button.
Spray CRC Throt-L-Body in short bursts onto the butterfly valve, while manually moving it back and forth. Let the solvent sit and penetrate, then spray again for maximum effect.
Be sure to clean throttle linkages as well.
6. Mechanical Agitation Without Damage
Use a clean, lint-free cloth wrapped around a finger to wipe the softened deposits from the butterfly valve and the bevelled edge. Work in small arcs, keeping pressure light to avoid scratching coatings. For stubborn carbon at the seat line, reapply the cleaner and use a soft, nylon brush to loosen the residue, then wipe again. Avoid scouring pads, wire brushes or anything abrasive. Scratches can create permanent air leaks or sticking points.
Rotate the butterfly valve and repeat on the backside which often collects a ring of tar-like residue. Break it up with repeated spraying and gentle brushing rather than force. Clean the bore immediately adjacent to the seat line. This is where buildup chokes idle airflow. Wipe until the cloth comes away relatively clean and the seat line looks sharp and free of tar.
7. Managing Runoff and Drying
Any pooled cleaner should be blotted before it migrates downstream. Hold a cloth below the bore as you spray to catch drips and periodically rotate the plate so excess cleaner can drain outward rather than inward. Once deposits are removed, give the surfaces a final light spray and wipe to clear residue.
8. Reassembly
If you’ve removed the throttle body, reinstall the throttle body to the manifold with even torque on fasteners to prevent warping. Refit the intake ducting, ensuring the hose seats fully on the throttle snout and clamps are snug but not over-tightened. Make sure there are no gaps or misaligned joints that could create unmetered air leaks. Double-check that no tools or cloth fragments remain in the intake path.
9. First Start and Idle Relearn
Start the engine and rev it up for a few minutes to flush out all the product. Expect a brief stumble or high idle as residual solvent burns off and the engine recalibrates to the cleaned airflow path.
Things to Avoid When Cleaning a Throttle Body
While cleaning is simple, there are mistakes that can cause damage. Avoid using carburettor cleaner or brake cleaner, as these can be too harsh and damage sensitive coatings inside the throttle body. Do not force the butterfly valve open with excessive pressure, as this can damage the electronic throttle control motor. Never use abrasive tools such as wire brushes or sandpaper, which can scratch the surfaces and impair function. Finally, avoid leaving residue inside the throttle body and always allow it to dry fully before reassembly.
When and How Often to Clean a Throttle Body
The frequency of cleaning depends on driving conditions. For most vehicles, cleaning once a year or each time your air filter is replaced is sufficient. However, cars driven in dusty environments or those with high mileage may require more frequent maintenance. If symptoms such as rough idling or poor acceleration appear, it's wise to clean the throttle body immediately rather than waiting for the next scheduled interval.